
You might be interested in running a PI as your web server for your network as the tiny device doesn't consume more power as compared to a full PC.Here are the steps followed.
install Apache by providing command
sudo apt-get install apache2 apache2-utils
You will be asked to download press y.

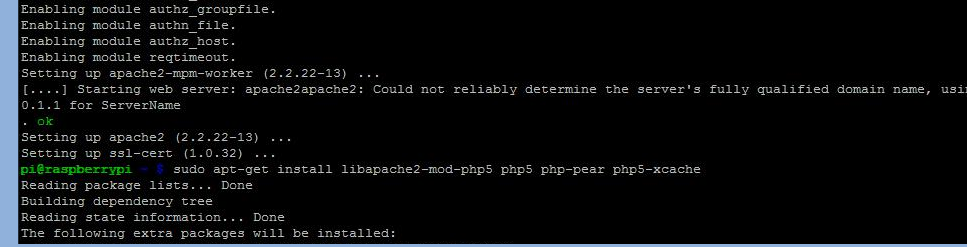
After the completion of installation of Apache now install php.The pi supports php5 so install it by
sudo apt-get install libapache2-mod-php5 php5 php-pear php5-xcache
same preess Y to download packages when asked
nest is to install MySQL as the server might require a database for usage .Type
sudo apt-get install php5-mysql mysql-server mysql-client
.PNG)
Now you will be asked to enter the root user password enter a password.

Now retype the password when prompted..

This completes the installation of My-SQL ,As database is installed installing phpmyadmin is a good thing to manage the database..So to install phpmyadmin type
sudo apt-get install phpmyadmin
.PNG)
.PNG)
Now when prompted choose the installed server and hit ok

When prompted give the password for application and then for root user..
.PNG)

Choose Yes for configure phpmyadmin and proceed

Now you have to edit the apache to use the phpmyadmin so type
sudo nano /etc/apache2/apache2.conf
move to the end of file by continuously pressing ctrl+V and at the end add the following line
Include /etc/phpmyadmin/apache.conf

.PNG)
.PNG)
.PNG)
Now everything is ready for the server ,so reboot the pi..
you can test the server at the PI's IP and phpmyadmin at IP/phpmyadmin

.PNG)
.PNG)
thanks..
.PNG)
No comments:
Post a Comment